November 11, 2024
I had a old RA8876 LCD panel which was just setting in my drawer so I decided to make something with it. It is a very nice 7" panel with vivid colors and respectable viewing angles. I had previously build an E-Paper Weather display mounted on a bent piece of red acrylic so I thought I would package this project the same way.
I had a old RA8876 LCD panel which was just setting in my drawer so I decided to make something with it. It is a very nice 7" panel with vivid colors and respectable viewing angles. I had previously build an E-Paper Weather display mounted on a bent piece of red acrylic so I thought I would package this project the same way.
 |
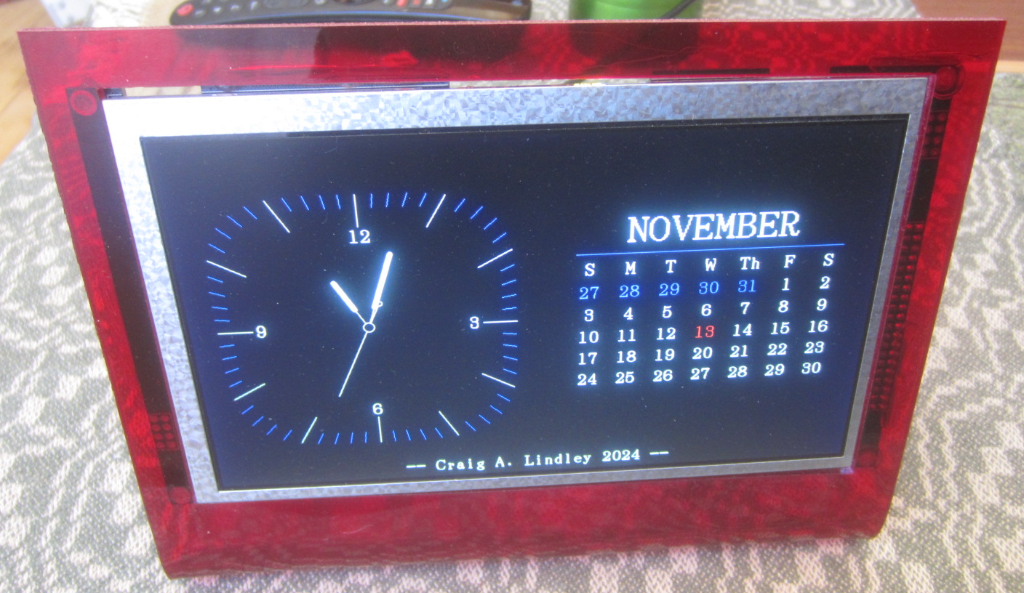
Here is
the front view of the finished project. It has a
simulated analog clock and a monthly calendar. The
display is a nice size which can be seen from a
distance though I think it will set on my desk for a
while.
This clock and calendar uses NTP for time keeping. As a result, the clock will set itself and automatically compensate for daylight savings time and leap years. The clock/calendar uses the WiFiManager code which will allow it to be moved from our WiFi network to some other without code changes being necessary. If this clock is moved to a different network, it will create an access point called "ClockCalendar" which should be connected to to pick the new WiFi network onto which it will be connected. If the web page for WiFi configuration doesn't come up automatically, point your browser to 192.168.4.1. Once a WiFi network is selected, the access point will go away and this device will connected to the selected WiFi network. The new WiFi network will be remembered and used until the device is moved again. |
 |
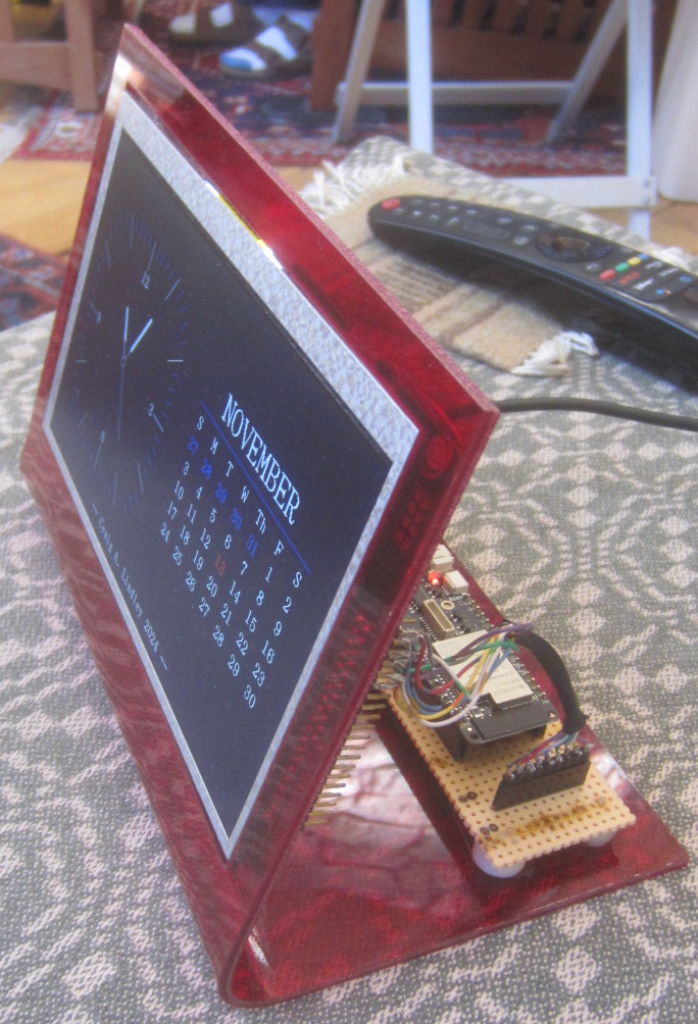
Side view of the
clock calendar showing the display and the ESP32
module running the show. A red acrylic panel was laser cut to size and then the hole for the display to fit thru was cut as well. The panel was then placed on a hot copper pipe and bent to shape. The pipe and the acrylic were both heated with a blow torch for bending. |
 |
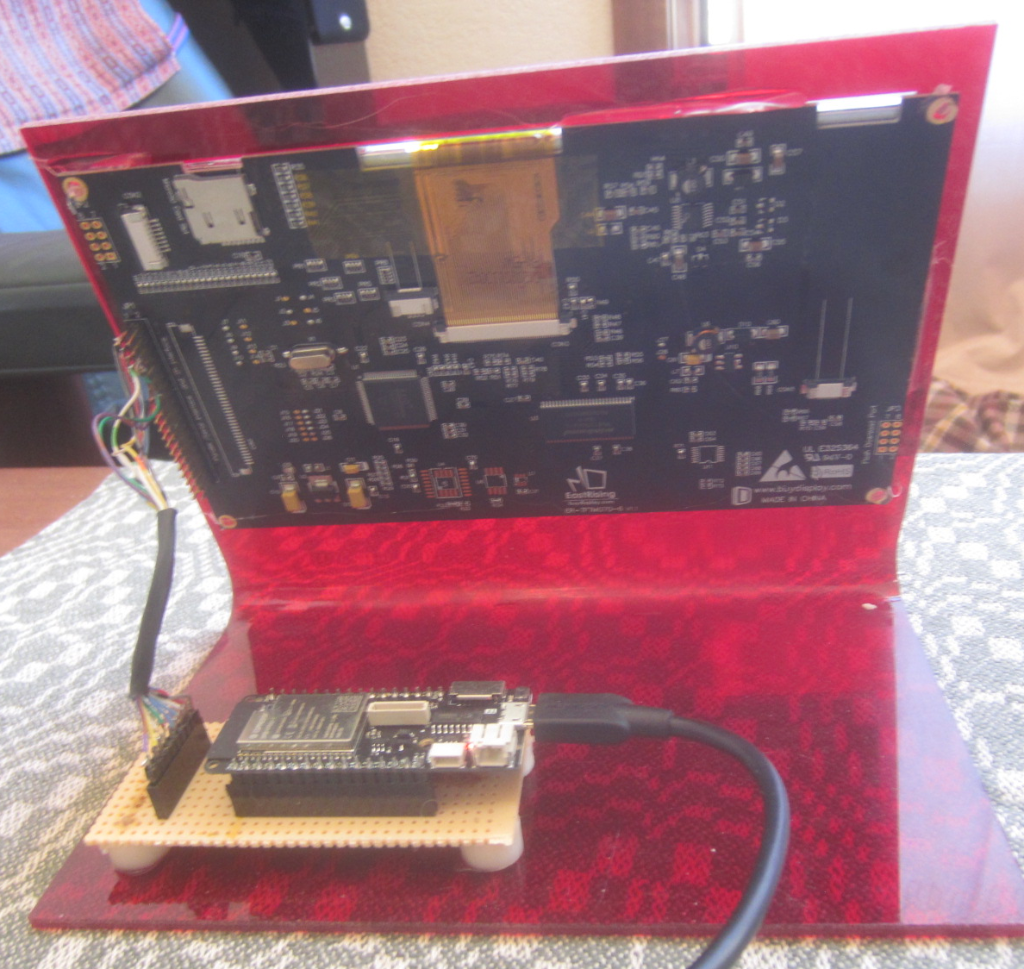
The display and the
pref board for the ESP32 were both hot glued into
place. This would allow both the display and the board
to be removed using heat if other project needs arise. |
 |
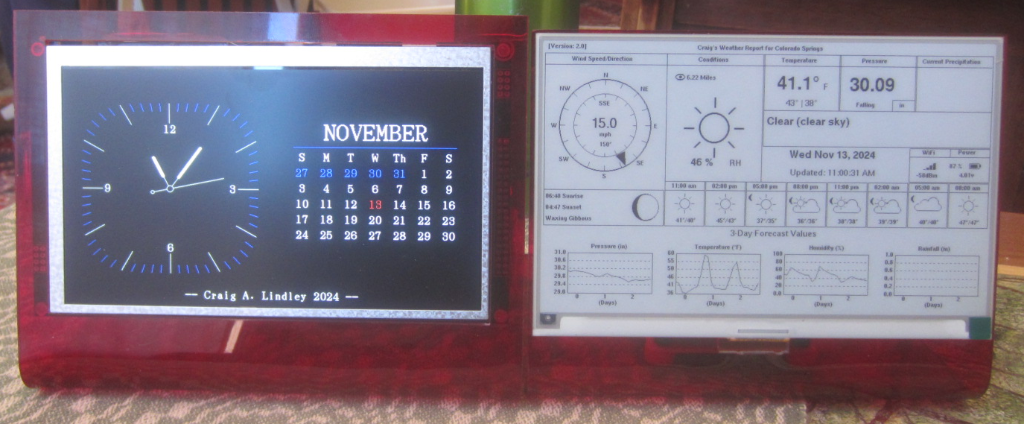
Here is the clock
calendar and the weather display together. These two
devices provide a lot of information in one place. |
Questions and comments to me Craig at: calhjh@gmail.com