The Wifi Internet Radio and Music Player Page


Home                               Craigs Pages                               Heathers Pages


After completing my first Internet Radio described here, I decided I could make the design even better by allowing it to play MP3's as well as Internet Radio stations. Hardware wise, the only changes were the addition of an USB hub and a flash drive containing MP3's.  I used an 8 Gig flash drive which holds about 1400 songs. Software wise, I had to add a few additional packages to the OpenWRT image running in the ASUS wireless router and add a few new scripts to auto-mount the flash drive at power up. The Music Player Daemon (MPD) I was using was already capable of playing MP3's so no changes were necessary there. The Nuts and Volts magazine article I wrote describing how I built my first Wifi Internet Radio is available here if you would like to read it.

In thinking how I might package this new version, I didn't have to look any further than my living room as adjacent to my chair was a beautiful antique radio from my parents. See the pictures below. This is the radio my Dad rescued, refinished and rebuilt after being in a fire in  a night club in Cody, Wyoming in the late 1940's. I think my Dad paid $20 for the charred remains. After an incredible amount of sanding and countless coats of Varathane the cabinet was beautiful once more but that was only half the battle. My Dad then had to repair the damaged tube electronics inside the cabinet as well which he did. After the renovation I remember listening to radio broadcasts from all over the world late at night with my Dad using this radio.

Unfortunately while moving the radio from California to Colorado as we were clearing out my parents home, the three heavy chassis internal to the radio came loose and smashed themselves up to the point where I didn't think they could be repaired. Thankfully the cabinet itself was spared any damage.

So, I decided it made sense to remove all of the broken parts of the radio and use the cabinet for an Internet Radio/Music Player. The results of which are shown here.


This is the radio cabinet. They sure did nice wood working in the old days. Just try and buy a cabinet like this today; you cannot. Every inch of this cabinet is covered in rich wood veneers which catch the light and glow.

My first task was to remove all of the old tube electronics, the old electromagnet speaker, turn table, power amplifier and power supply. In total I removed about 80 pounds of electronics.

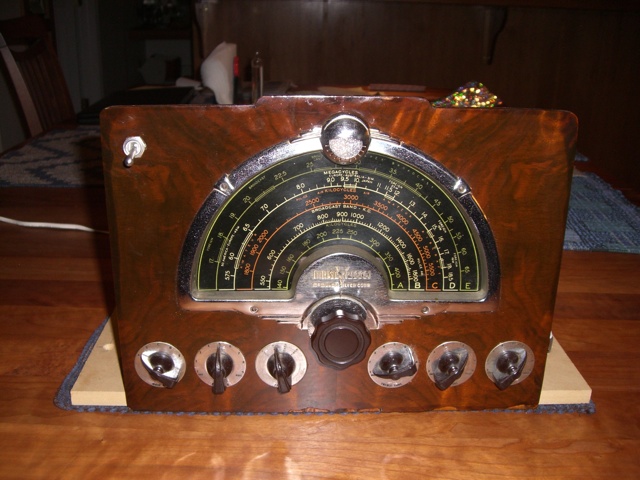
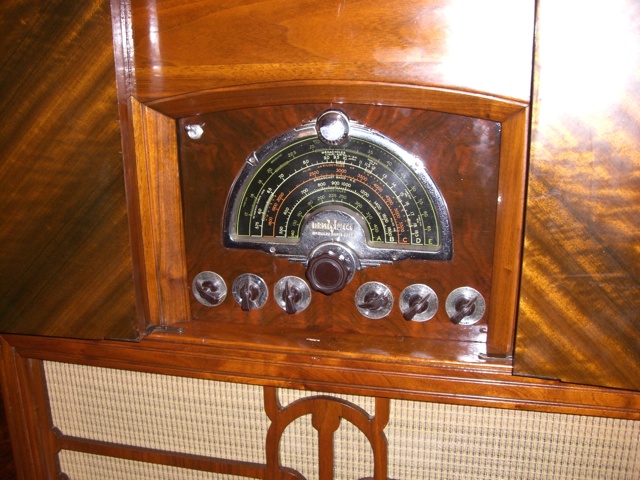
I then removed the original front control panel from the old chassis. Besides the cabinet, the front panel is the only other part of the radio I retained for reuse.


Next, I cut some 1/2" MDF to act as a chassis for mounting the new electronic components. I glued the radio's front panel onto the MDF (shown here facing away). I installed pots in place of the original front panel controls so the knobs on the front could  still be turned even though they don't do anything anymore. I replaced the original power toggle switch with a new one because the old one was crumbling.

Component Breakdown
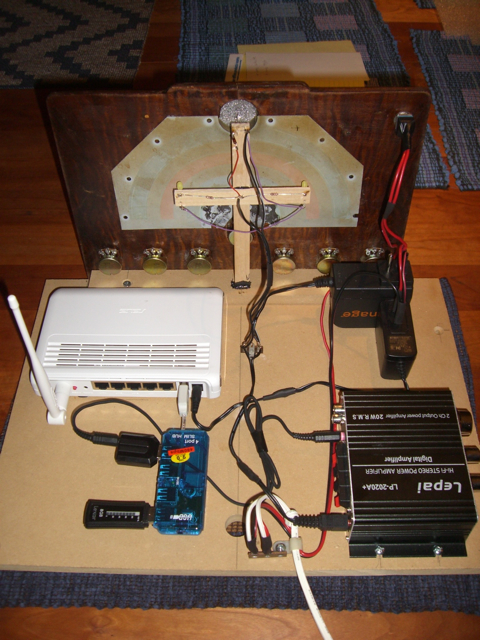
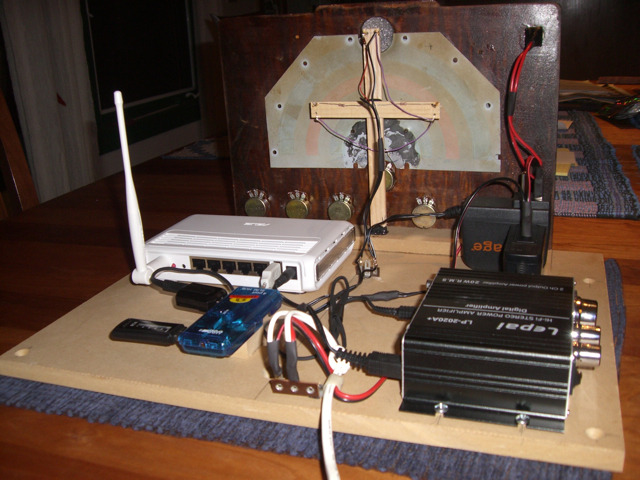
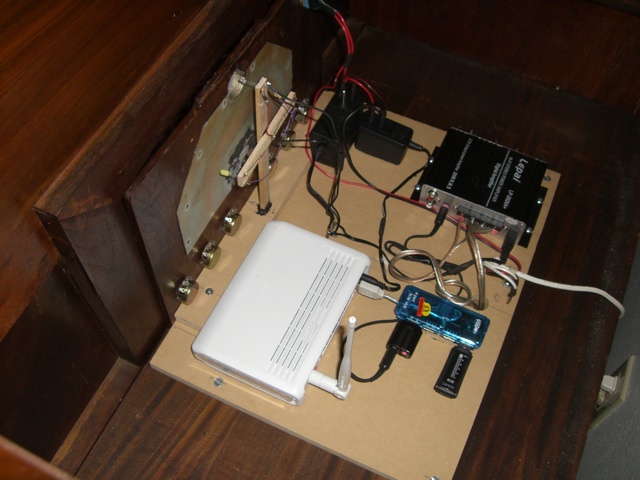
The cross at the rear supports three LEDs. Two white LEDs for illuminating the dial and one color changing LED for the tuning eye. The wireless router is in the upper left. The USB hub, USB sound adaper and flash drive are shown on the lower left. The power supplies for the router and power amplifier are in the upper right. The
stereo 20 watt Class D power amp is in the lower right.


Here is another view from the rear.

Here is a view of the front after reassembly. Even the front panel is made out of beautiful wood burl.

Another view of the old at the front and the new at the rear.

Another view of the cabinet. Isn't it amazingly beautiful? It looks like tiger eye stone in the sun light.

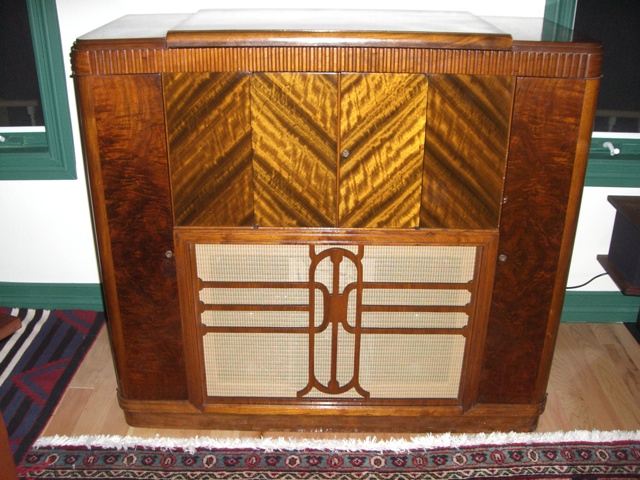
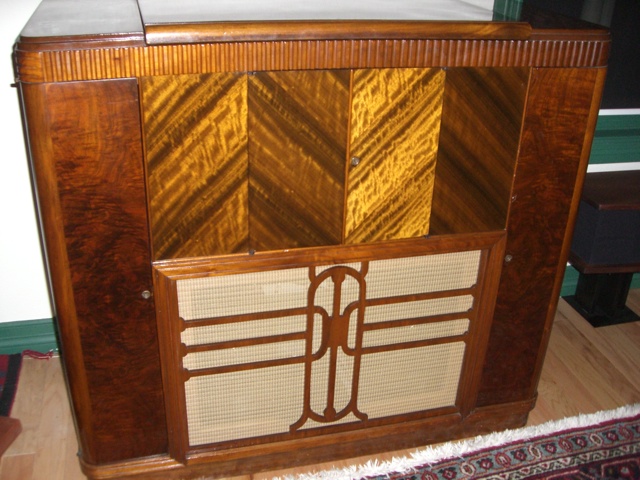
I replaced the grill cloth during the renovation because it had 50+ years of cigarette smoke on it and also because I replaced the original single round speaker with a pair of NHT stereo speakers. To do this I had to change the circular hole in the grill cloth support to a rectangular one so as not to block sound from the new speakers.

The sound fidelity is definitely better than the first Internet Radio I built. This is a result of more amplifier power and much better speakers.

A close up of the cabinet showing the  amazing veneers used in the cabinet's construction.

Can you tell I just love this thing.

A closeup looking down on the new contents of the cabinet.

Here is a view of the finished Internet Radio/Music Player. As noted, the knobs don't do anything now. The toggle switch in the upper left does control the power and a multi-color LED changes color where the tuning eye tube once was. There are also a couple of white LEDs behind the dial which light up when the power is on.

I hope my Dad would have liked what I did to his radio. Since this is a family heirloom I will be passing it down someday as well. I just have to find a niece or nephew who would like to have it. In the mean time, it will grace my living room as a beautiful and useful appliance of the Internet age.

And did I mention you control the radio/MP3 player from an app running on an iPod, iPad or iPhone?


Home                               Craigs Pages                               Heathers Pages