 |
At
this point the guitar is
complete from an assembly point of view. Next comes finishing. The
first step in the finishing process was to completely dissemble the
guitar removing the strings, the saddle and the tuning heads. The
guitar's fingerboard and bridge were then masked off with tape to
prevent any of the finish from getting on those parts. The top of the
guitar was also covered in paper and masked. This was necessary because
I needed to finish sand and I didn't want the fine mahogany dust
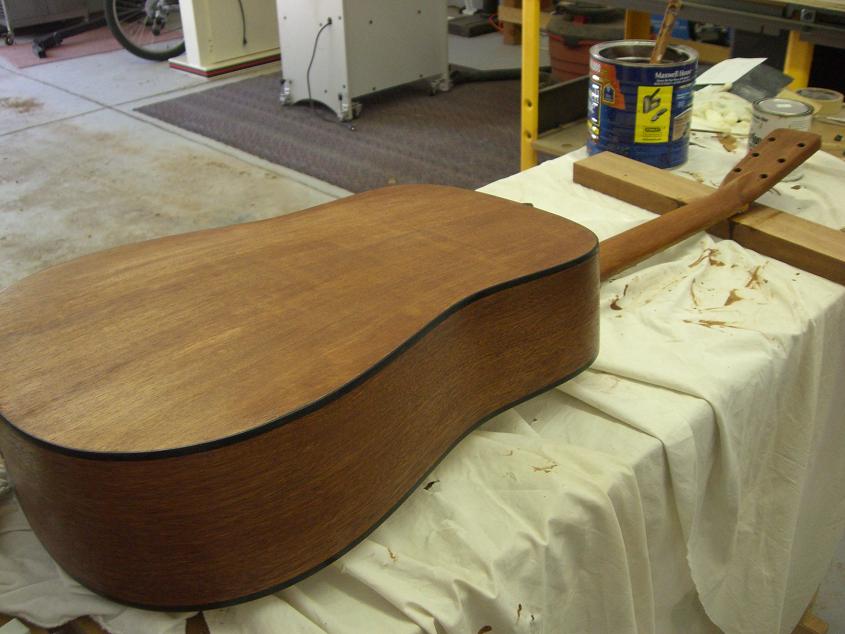
getting on the spruce top as it is very hard to get off. With the guitar body masked off, I finish sanded the whole thing. First with 220 then 320 and then 400 grit paper. The wood was wet numerous times to make the grain stand up and when it dried the guitar was sanded again. Finally, I applied two coats of brown grain filler to fill the pores of the wood. This darken the color and really brought out the grain in the mahogany. Grain filling provides a good surface for the lacquer to adhere to. |
 |
After the grain filler dried, I again sanded the
whole
guitar to 320 grit and then removed the paper covering the top of the
guitar. The fingerboard and bridge remain masked for the duration of
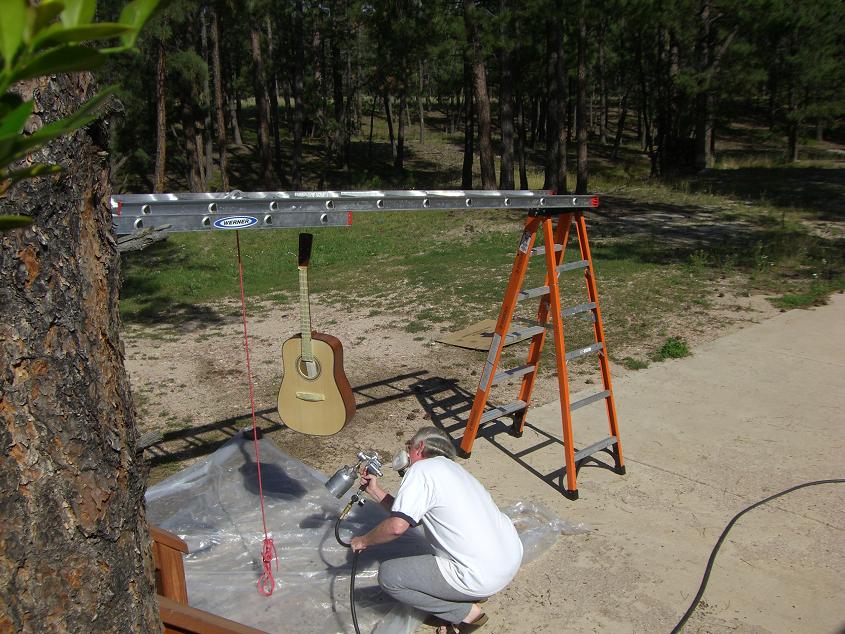
the finishing process. I decided to use Behlen Instrument Lacquer for the finish as it is especially made for wooden musical instruments. It is more elastic than most film finishes which is necessary because the body of the guitar expands and shrinks with temperature. If the finish was not elastic it would crack as the temperature changed. As you can see here, I erected a painting support using the end of my deck and a couple of ladders. With this arrangement I could get to all the places on the guitar when spraying the finish. I used my Wagner HVLP spray gun that I bought for finishing my furniture and it worked great for the guitar as well. On the first day of finishing (8/26/2007) I applied one coat of Behlen Vinyl as a base coat. This is necessary so the following lacquer coats stick. Next I applied three coats of lacquer waiting an hour between each. |
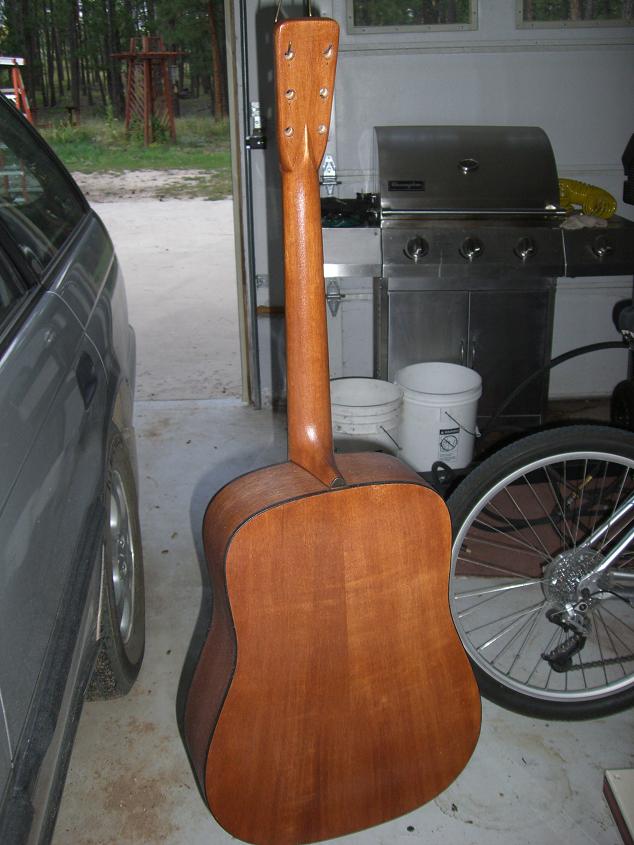 |
Between each coat I brought the guitar into the
garage to
try and keep dust off of it and to keep it out of direct sun. At the end of day one of finishing here is what the guitar looked like. The finish felt like sandpaper after it dried but a couple of passes of 320 grit sandpaper over the guitar made it feel like glass. I can already tell there are a few imperfections in the finish but oh well it just shows this guitar was handmade. |
 |
Over
a weeks period I
sprayed a total of
12 coats of lacquer onto the guitar.
Between each set of three
coats, I sanded lightly with 320 grit sandpaper. This allows the
solvents in the lacquer to escape and/or dry. A two week period for drying and shrinking was necessary after the painting of the lacquer was completed. The guitar was first dried in the garage until the smell was gone and then it was moved into the house. It was important to keep the guitar warm and dry during this period. Since there was nothing else to do until the drying was complete I designed this label which will be pasted inside the guitar. |
 |
The
final finishing step
was to sand the whole guitar with 600 grit sandpaper (wet) and then rub
the surface down with a fine rubbing compound. I wanted more of a satin
finish than a glossy finish and this can be controlled by how long you
sand the lacquer. I sanded for about 4 hours to arrive at this finish. After all of the sanding, rubbing out and application of a paste wax, I removed the tape covering the bridge and the neck. Finally I put the pick guard on. It is self adhesive. I then used Pledge and a soft cloth (like I do with all of my guitars) as a final cleanup to get rid of all dust and lint on the surface. Next step, put the tuning keys back on and string the guitar up again. |