I wasn't aware I even wanted to build an
electric guitar until I got this email
from Stewart-MacDonald, a provider of
guitar repair information, guitar parts and guitar kits. As soon as
I saw this I knew I had to build one. Bo Diddley played a rectangular
guitar so I knew I would be in good company. Gretsch even made
rectangular guitars like this for a while. The guitar I had in mind
would have the neck and the playability of a Fender
Telecaster/Stratocaster with the pickups and hardware of a Gibson Les
Paul. A crossover guitar so to speak.
Convinced I should build one, I immediately started thinking about all of the individual pieces parts that make up an electric guitar: the neck, the tuning heads, the neck screws, the neck plate, the pickups, switches, controls, etc. As you can see the list gets long very quickly. I toyed with the idea of buying a used Les Paul like electric guitar and scavenging the parts from that but I couldn't bring myself to dismantle a perfectly good instrument. In the end I decided to buy all of the parts individually even though that would cost a little more. I stumbled upon a site called GuitarFetish (importer of Xaviere guitars) who offered all of the guitar parts I would need at reasonable prices. So I made up a rather long list of components and placed the order (total of $280 in Dec 2012). With that done I started to think about how to build the body of the guitar ...
Convinced I should build one, I immediately started thinking about all of the individual pieces parts that make up an electric guitar: the neck, the tuning heads, the neck screws, the neck plate, the pickups, switches, controls, etc. As you can see the list gets long very quickly. I toyed with the idea of buying a used Les Paul like electric guitar and scavenging the parts from that but I couldn't bring myself to dismantle a perfectly good instrument. In the end I decided to buy all of the parts individually even though that would cost a little more. I stumbled upon a site called GuitarFetish (importer of Xaviere guitars) who offered all of the guitar parts I would need at reasonable prices. So I made up a rather long list of components and placed the order (total of $280 in Dec 2012). With that done I started to think about how to build the body of the guitar ...
 |
Originally I wanted
to make the
guitar body out of black walnut but I couldn't find a board that was
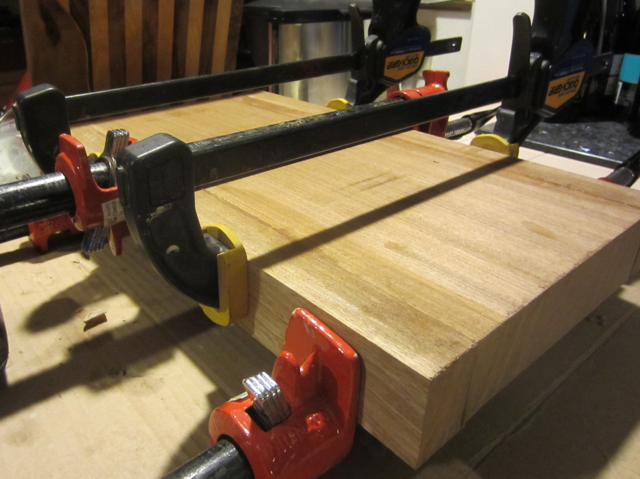
thick enough and not seriously warped. Instead I purchased a beautiful, perfectly straight 8/4 (eight quarters) piece of Sapele (Entandrophragma cylindricum) wood from Woodcraft. Sapele is a tropical African hardwood (also known as sapelli or aboudikro) used by many guitar manufactures because of its tonal properties. The sapele board was not wide enough for my guitar body so I had to glue a 1 1/2" piece to each side of the wooden blank. Here clamps are holding the glued up pieces together. |
 |
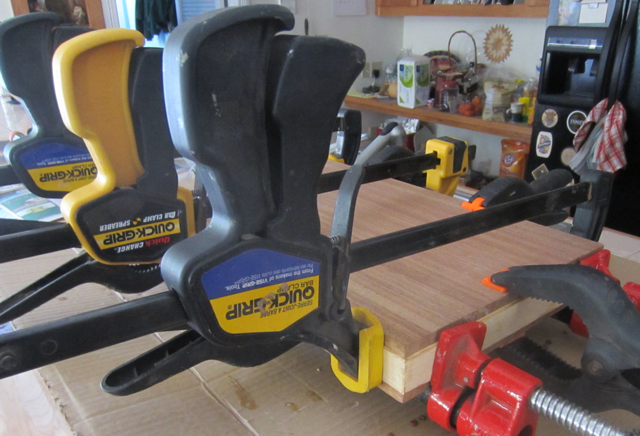
After the
glue dried I ran the blank through my planer to remove the glue
residue and to flatten the top and bottom. Next step was to machine a dado (slot) around the blank's perimeter using dado blades on my table saw. This was necessary because I wanted to inlay white ash around the body for an artistic touch. The light colored ash contrasts nicely with the dark Sapele. I did the same thing with the ash trim for a coffee table I built and it always gets comments from the people who see it. |
 |
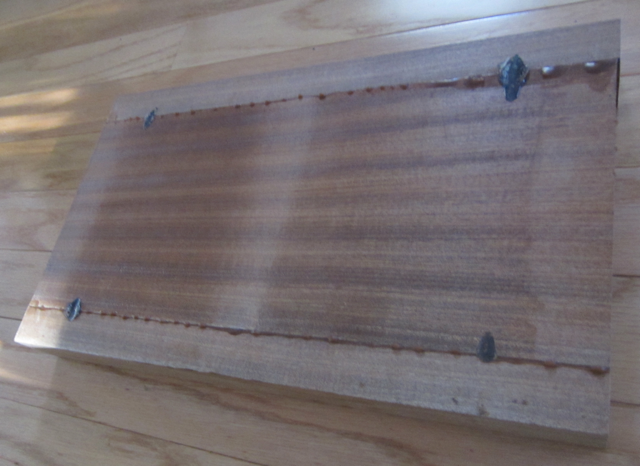
I mitered the ash corners to 45
degrees and fit the ash into
the dado. Here I'm gluing the ash into the Sapele body. I had to do
this in my kitchen cause it was too bloody cold in the garage. After the glue dried I trimmed up the body edges on the table saw so the ash was flush with the Sapele as can be seen in the next image. |
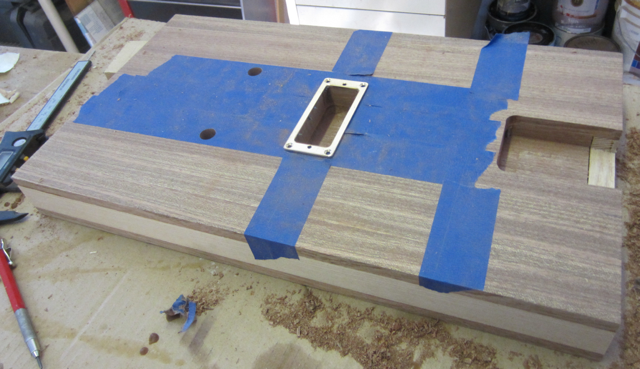 |
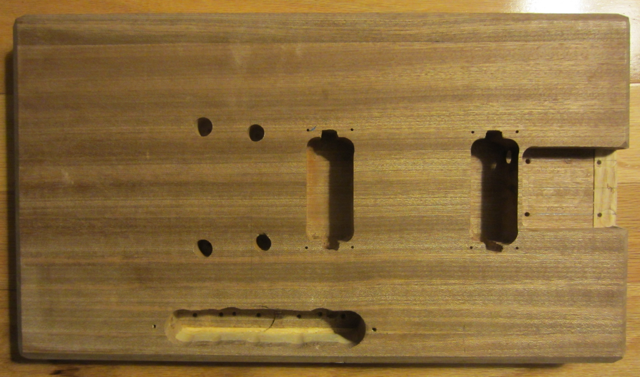
Next comes the machining of the
body cavities in the body. I
had to build custom templates for my router for the neck pocket and for
the pickups. I used a flush cutting router bit with the bearing on the
shaft towards the router. The bearing rides on the template to make the
correctly shaped cavities. This was a pain because you cannot cut the
full depth in a single pass so I had to elevate the template on
spacers, make a pass, lower the template a little make another pass and
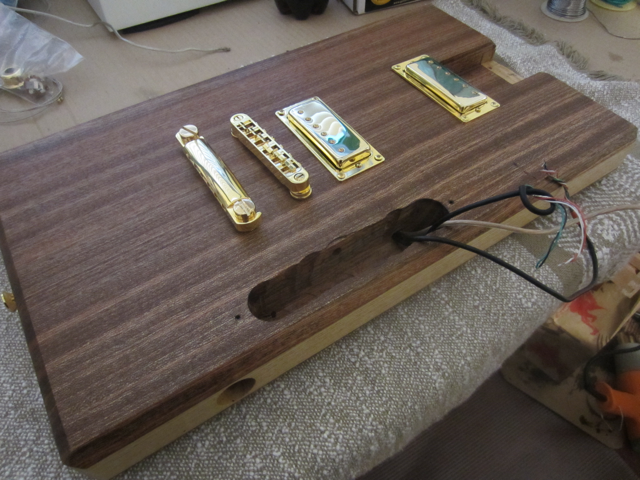
then remove the spacers under the template and make a final pass. The two holes are for the tail piece supports. In this picture I placed the surround for the pickup over the cavity to make sure of the fit. |
 |
This is a test fit of the neck
into the body to make sure the
neck pocket I machined was the correct size. I didn't make the neck I
bought it premade which made this guitar build a lot simpler. |
 |
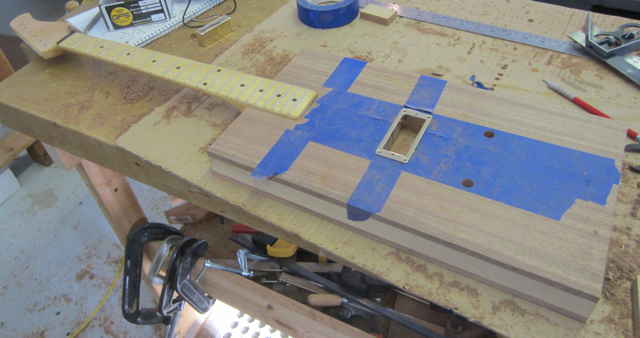
Machining continued as I machined
cavities for the second
pickup and for the guitar's control panel. My guitar will have controls
like a Fender Telecaster guitar. A three position pickup selector
switch, a volume and a tone control. If you look closely you can see pencil lines on the tape. The vertical line at a small angle from vertical is for placement of the bridge. The bass side of the bridge must be offset about 1/8 inch for proper intonation. I first measured to find the position of the bridge and then I placed the tail piece 1 1/2" to the right. The bridge pickup was placed so the pole pieces were also an 1 1/2" from the bridge. This guitar has the same 25 1/2" scale length that a Fender Telecaster or Stratocaster has. |
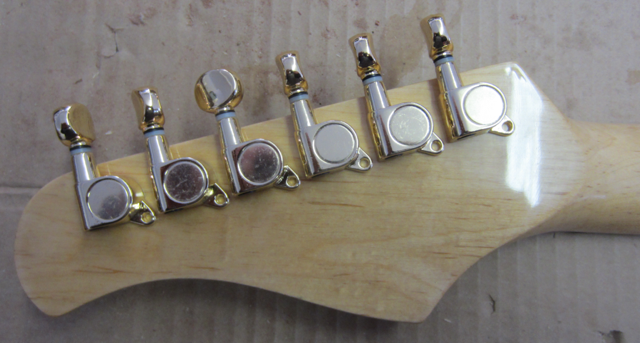 |
Here I'm placing the tuning heads
for mounting. I had to
drill out the holes in the neck, place the tuning heads and then drill
a small hole for each of the six mounting screws. |
 |
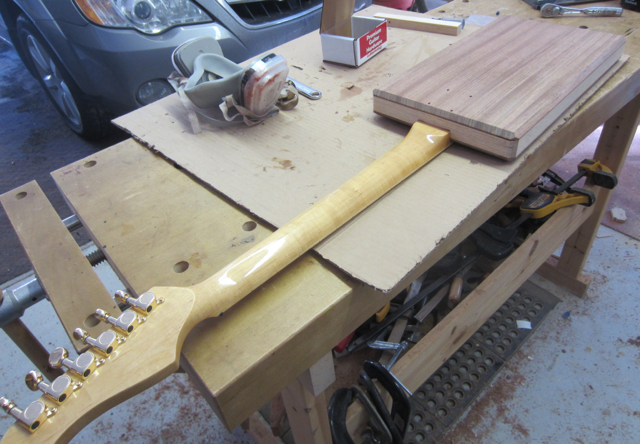
Here is a full view of the neck.
It is made out of maple and
was pre-finished with a nice gloss finish. The neck has a truss rod
that is accessed from the front side of the neck. I should mention the
tuning heads are gold colored to match the rest of the hardware on the
guitar. I don't know why I selected gold for the guitar's hardware
instead of black or chrome. It just seemed appropriate at the time. I
hope the guitar doesn't turn out to flashy for me. |
 |
With the tuning heads mounted I
laid out the four screws that
will hold the neck onto the body. This type of guitar is referred to as
a "bolt on neck" guitar as opposed to a guitar where the neck is glued
permanently to the body. The four gold neck screws will pass through a
gold neck plate then through the body of the guitar and into the wood
of the neck. In this picture you can see that I beveled all of the hard edges on the body at a 45 degree angle. I think this will make the guitar more comfortable to play. |
 |
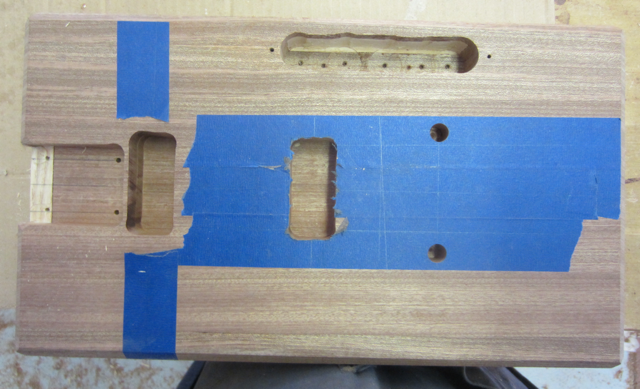
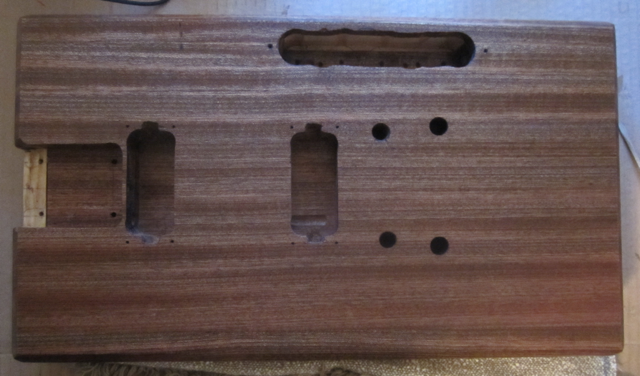
The final machining step was to
drill the two 29/64" holes
for the bridge supports. If these holes are not in the correct
position, the intonation of the finished guitar will suffer. Luckily
the bridge has adjustable bridge teeth for setting string length which
makes the placement of the bridge not quite as critical as it would
otherwise be. What you cannot see in this picture is that I had to drill holes/tunnels between the pickups and the control cavity and between the bridge support hole and the control cavity so I can run the electrical wires that I will eventually hook up to make the guitar function. I also drilled a 7/8" hole in the bottom for the output jack. I had to drill a tunnel for this connection as well. You can see how nice the Sapele wood grain is even before a finish is applied. It looks a lot like mahogany in my opinion. |
 |
With machining complete I began
the finishing process. I used
Minwax Tung Oil Finish cut with turpentine. I later found out this
stuff is actually made from boiled linseed oil and resins and doesn't
contain any Tung oil at all. That is truth in marketing. No complaints
though, the product worked nicely and I could even apply it in near
freezing temperatures. I did six coats of finish, sanding between every other coat with 600 grit sand paper. The finish is matte to glossy and smooth as glass. It should also be completely impermeable to water. |
 |
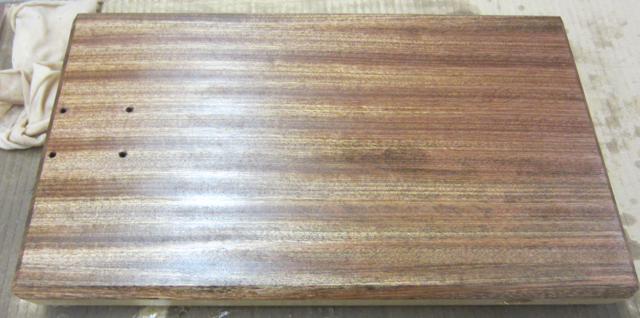
Here is the front side of the
body after finishing was
complete. The lighting makes the front and the back look different but
that is only an artifact of the photograph. Next comes final assembly, oh boy! |
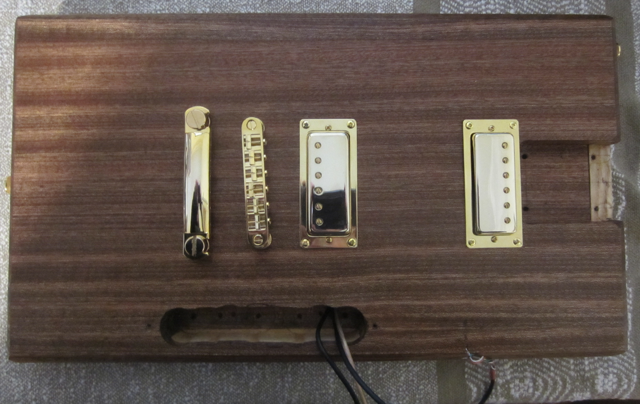 |
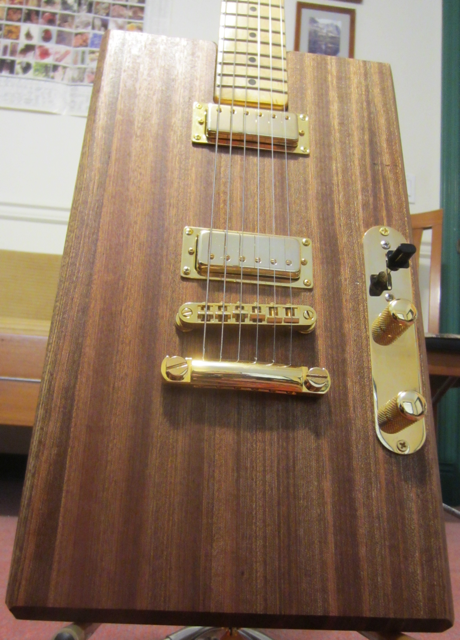
On goes the gold hardware. I
mounted the strap buttons (far
left center and top right), the rear tail piece, the bridge and both
pickups. I had to pull the wires from the pickups and the ground wire
from the bridge through the holes in the body I had previously drilled. Things are starting to look good (;>) |
 |
Another view of the body. You can
see the hole for the jack in the bottom of the guitar. |
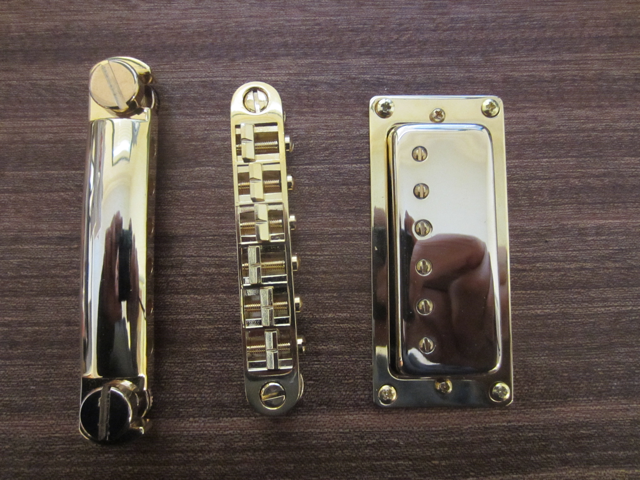 |
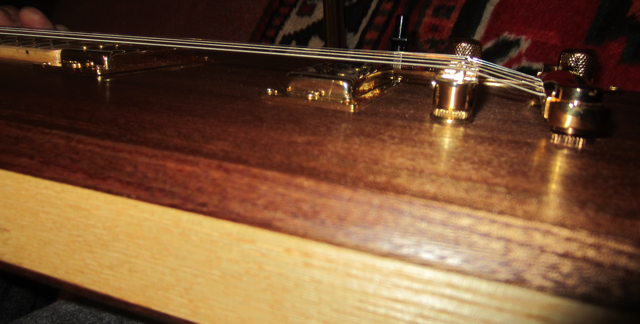
A closeup view with my
reflection. From the left are the fixed tail piece, the adjustable
bridge and the bridge pickup. All gold color of course. The bridge has six movable bridge teeth (one for each string) each with an adjustment screw (facing forward). These screws will be adjusted to set the string length for each string independently. |
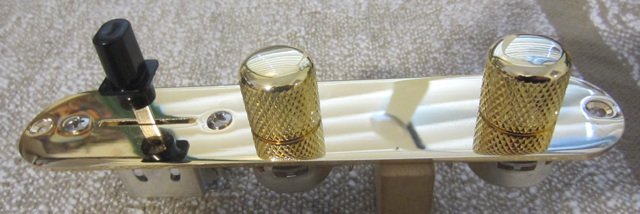 |
Here is the control panel for the
guitar. Pickup selector switch on the left, volume control center and
tone control right. All of this hardware is gold colored as well. |
 |
Bottom view before wiring. Both
pots are Alpha 250K ohm audio taper. The switch is double pole triple
throw. |
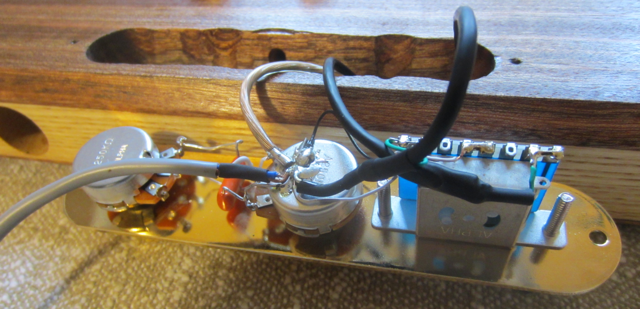 |
Here is the wired control panel.
The two black wires are connections to the pickups. The middle heavy
wire is the ground for the bridge. The wire on the left is the
shielded/twisted pair going to the output jack. The orange item between
the pots is a 0.05uF capacitor for the tone control. NOTE: it is very important to have a single ground point for all of the wiring as that helps to eliminate ground loops and hum. Here, all ground connections are soldered to the back of the volume pot. |
 |
With all of the connections made,
I screwed on the control panel with, what else, gold colored screws. I
pulled the wire for the output jack through the previously drilled
tunnel and soldered the jack to the wire. Now I just need the
ElectroSocket jack mount to complete the assembly. |
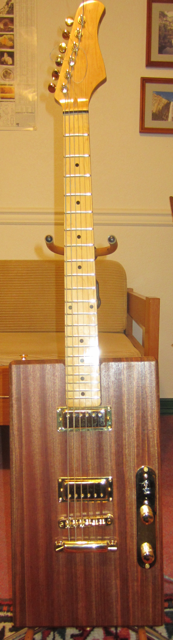 |
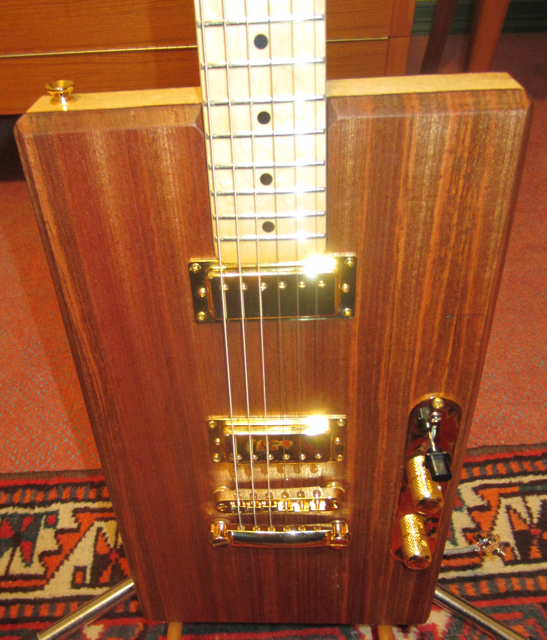
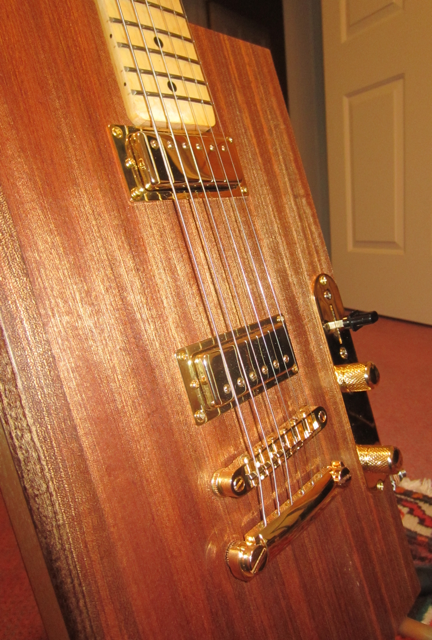
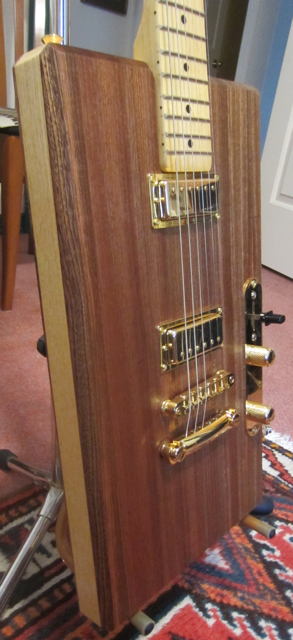
Here is a full view of the
guitar. Only things left to do are: mount the output jack, mount the
string tree on the neck and set the intonation. Unfortunately there is a small problem with the intonation even though I measured the position of the bridge at least 10 times before drilling the holes. The string length is short by about an eighth of an inch but I think I know how to fix this. The guitar feels wonderful in the hand. All surfaces are smooth and sensual and this will only get better as the guitar is played. The oil from the skin will make the wood glow even more over time. The guitar is heavy but not to heavy and it sets well in the lap without needing a strap. The action is good but I think I will be able to improve it further. |
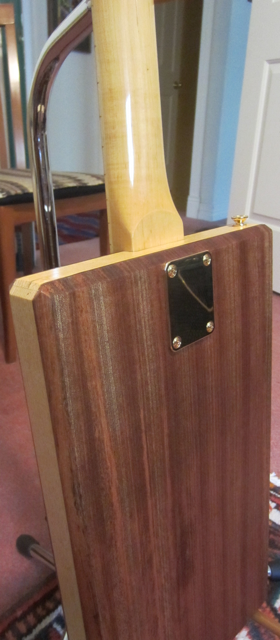 |
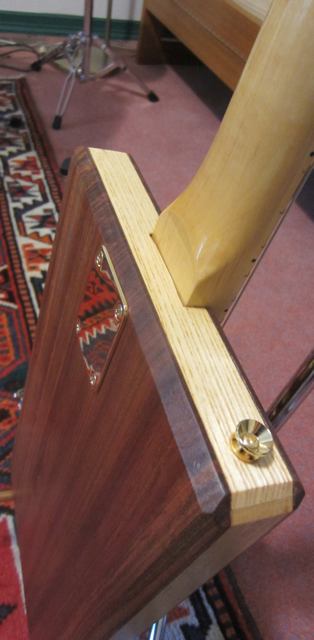
Rear view of guitar showing neck
plate and screws. When you have this guitar in your hands it feels like a work of art. |
 |
Another view. |
 |
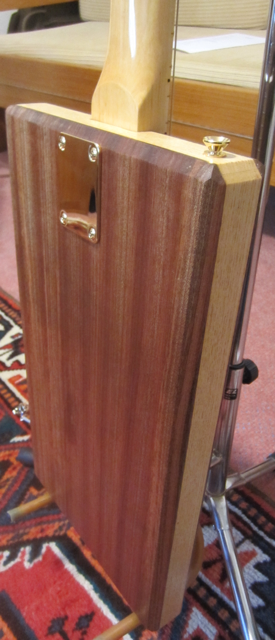
Looking down on rear of guitar. You can see the front strap button. |
 |
This guitar does sparkle ! |
 |
Another view. |
 |
And another view. |
 |
And another view. How do you like these guitar glam shots ? |
 |
Hardware closeup. |
 |
View from the bottom side for
something a little different. |
 |
Classic view with sparkles. |
 |
Yet one more view. |
 |
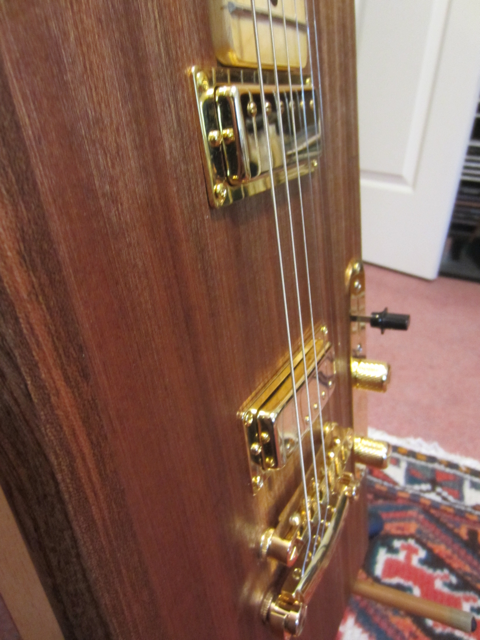
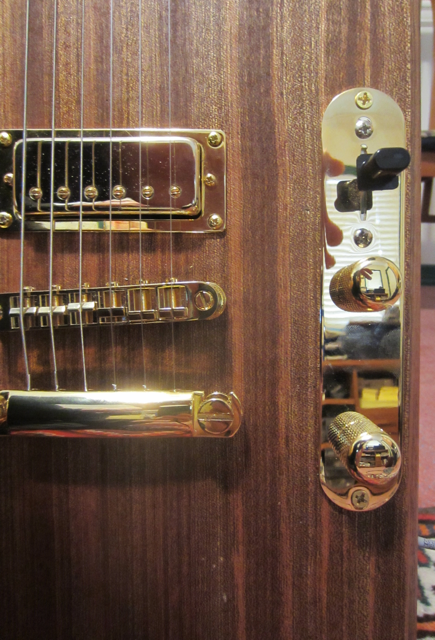
The guitar's controls all work as
designed. The black (top hat) pickup selector switch selects the neck
pickup (for a more bassy sound) in the forward position, the bridge
pickup (for more treble) in the rear position
and both pickups together in the middle position (as shown). The middle
volume
control controls the overall volume of the guitar and the tone control
rolls off the highs as it is rotated counter-clockwise. |
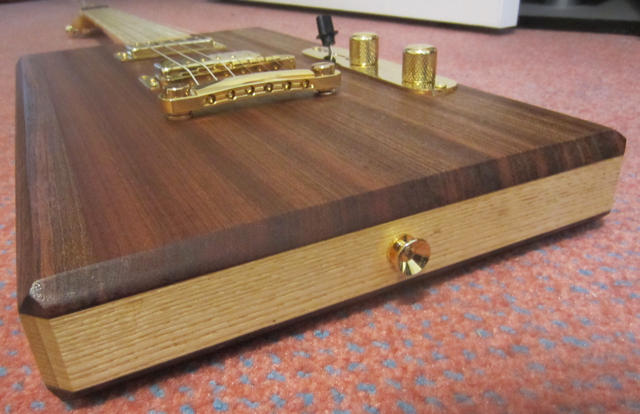 |
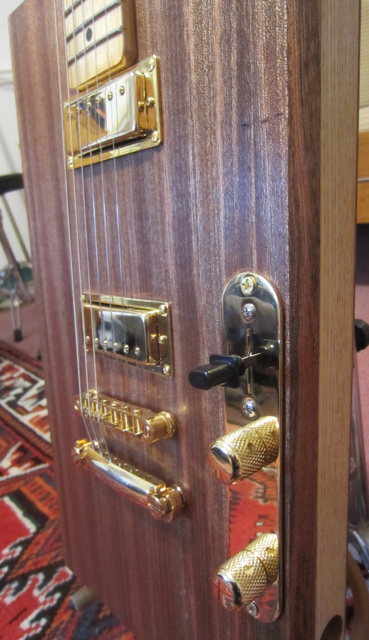
This pictorial would not be
complete without this view of the guitar. Here you can see the golden
strap button. |
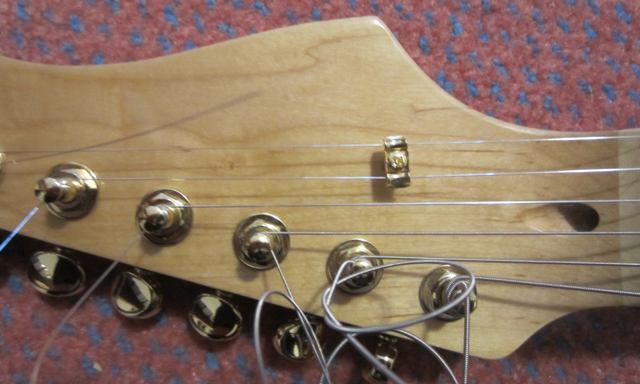 |
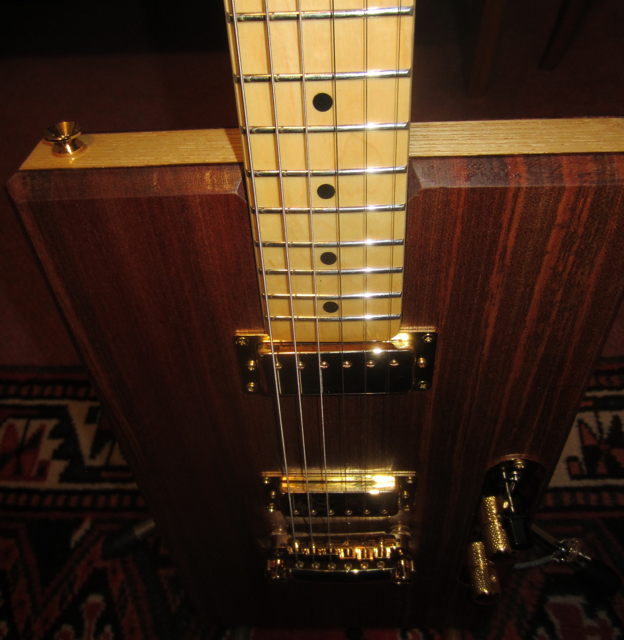
As I'm finishing the guitar off,
I added a string tree to hold the little E and the B strings down.
Most, if not all, Fender guitars have these. The string tree forces the
strings to be held at a steeper angle off the nut. Otherwise these
string may lift out of the slots in the nut when playing hard. |
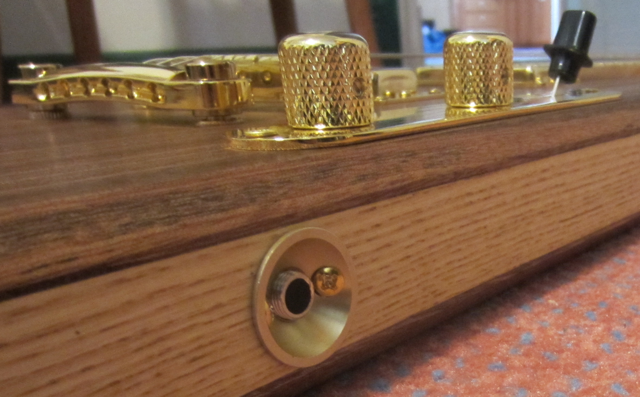 |
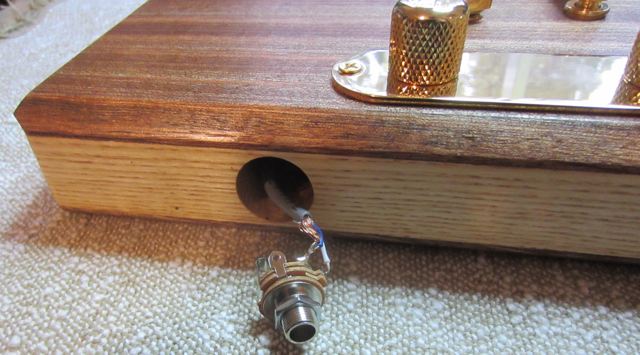
The
ElectroSocket jack mount finally came in the mail so I quickly mounted
it to finish off the guitar. I don't think I will ever have trouble
with a loose jack as often happens on a Tele. |
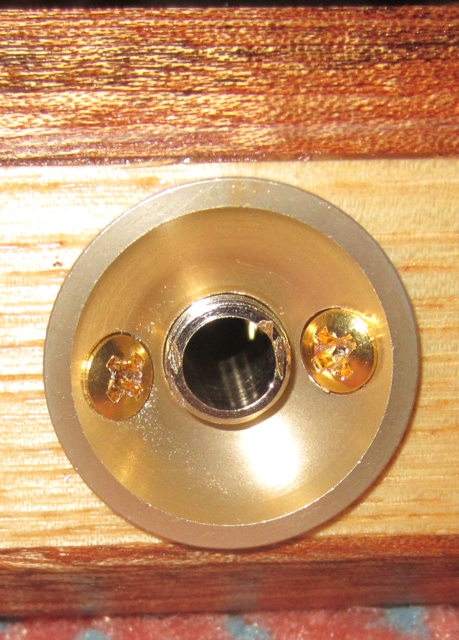 |
Here is a closeup. |
The guitar turned out well but not perfect. I learned a bunch about guitar making from this experience. The intonation problem will be fixed by placing a narrow spacer in the neck pocket that forces the neck to move out of the pocket by approximately 1/8". That will add enough to the string length I believe to allow the intonation to be set perfectly.
Update 01/31/13 - I made the change for the intonation problem and it worked perfectly. This guitar now has excellent intonation.
I hope to be playing this guitar for a very long time to come unless of course someone wants to buy it from me for an obscene amount of money. After all this is a one of a kind item. There isn't another guitar in the whole world like it.
If you are interested in how acoustic guitars are made click here.