November
2023
When headphones just won't due, a speaker system to go with the Antique Radio.
I decided I needed to build a small speaker system to go with the Antique Radio. I didn't want to go to the trouble of actually designing speaker enclosures so I purchased
ARVICKA computer speakers - Small wired External Laptop Speakers 2.0
from Amazon as they were the size I was after and reviewed very well. With the speakers picked out, I designed the cabinet for cutting on my laser cutter. I decided to make the tabs stick out like I did on the radio so the cabinet design would match. I made the speaker enclosure out of the same 1/8" Baltic Birch I made the radio out of. After I had the basic design of the cabinet done, I decided to ornament it with engraved designs on most of its surfaces as you can see in the images below. The final step was to paint the cabinet with Amber Shellac so it would match the Antique Radio.
I had to build a little power distribution circuit that routed the incoming 5VDC from an external wall wort to two USB jacks for powering the USB speakers and for powering the Antique Radio. I did this to keep the wiring uncluttered. I added a 1000 uf, 0.1 uf and 0.01 uf across the power input jack (to help clean up the power) and a power switch which would turn the radio and the speakers off and on.
 |
Front view of the cabinet during
assembly. The slot under each speaker allows the blue LED light on each speaker to shine through. The speaker LEDs can be switched on or off with the switch on the back of the left speaker. The left speaker also has a volume control which I set on maximum because I will use the volume control on the Antique Radio instead. |
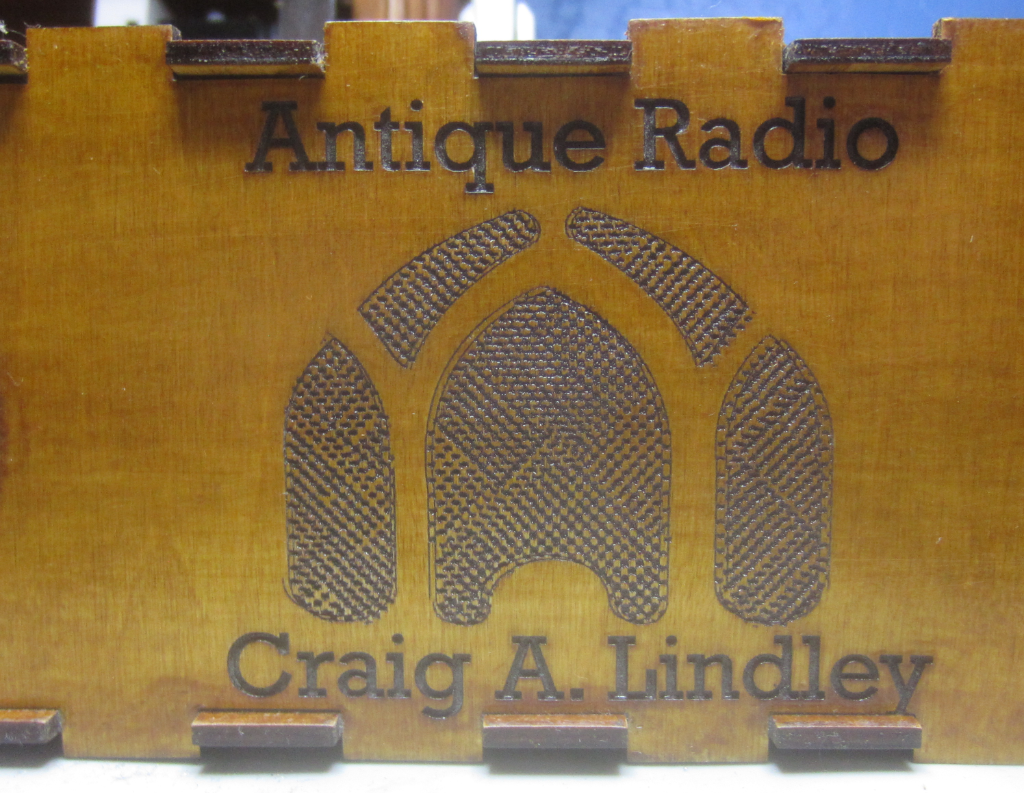 |
Here is a closeup of the front panel
engraving. You can also see how the tabs stick out just like they do on the radio. |
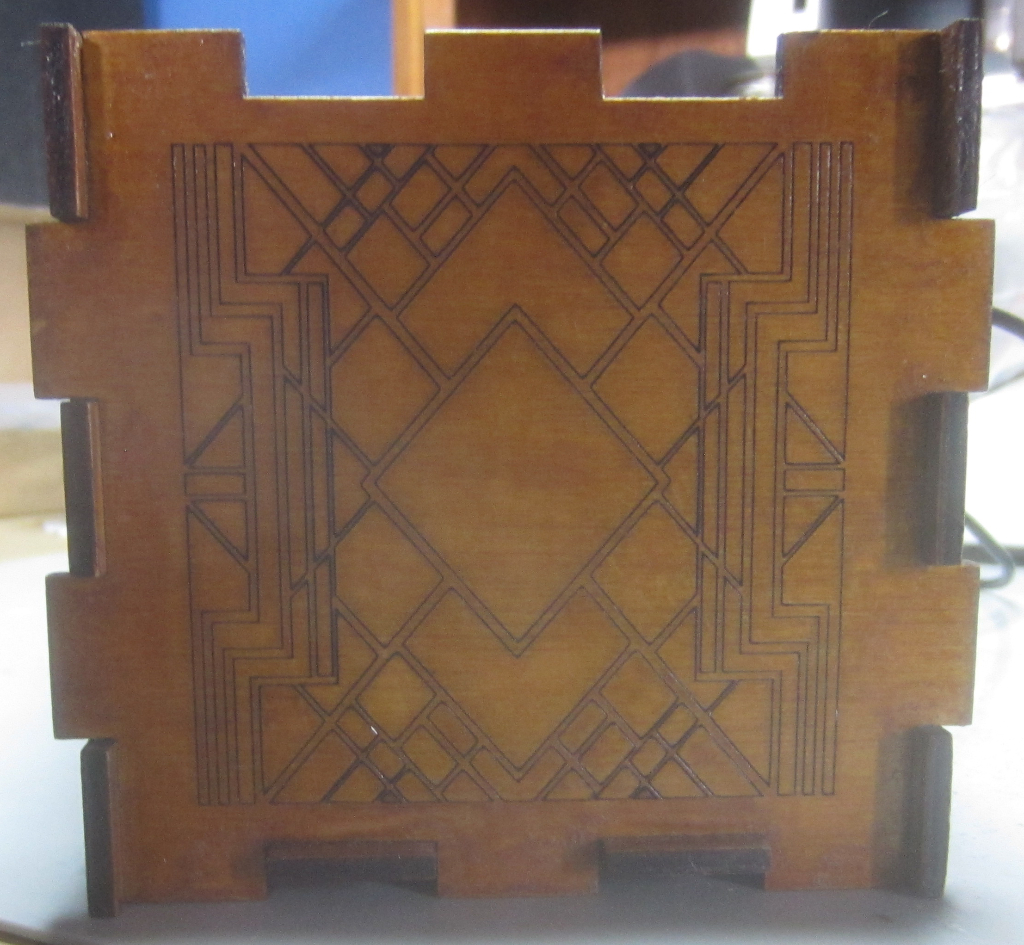 |
Here is the engraving I did on the sides
of the cabinet. I picked an Art Deco pattern as I thought it appropriate for the virtual time period. |
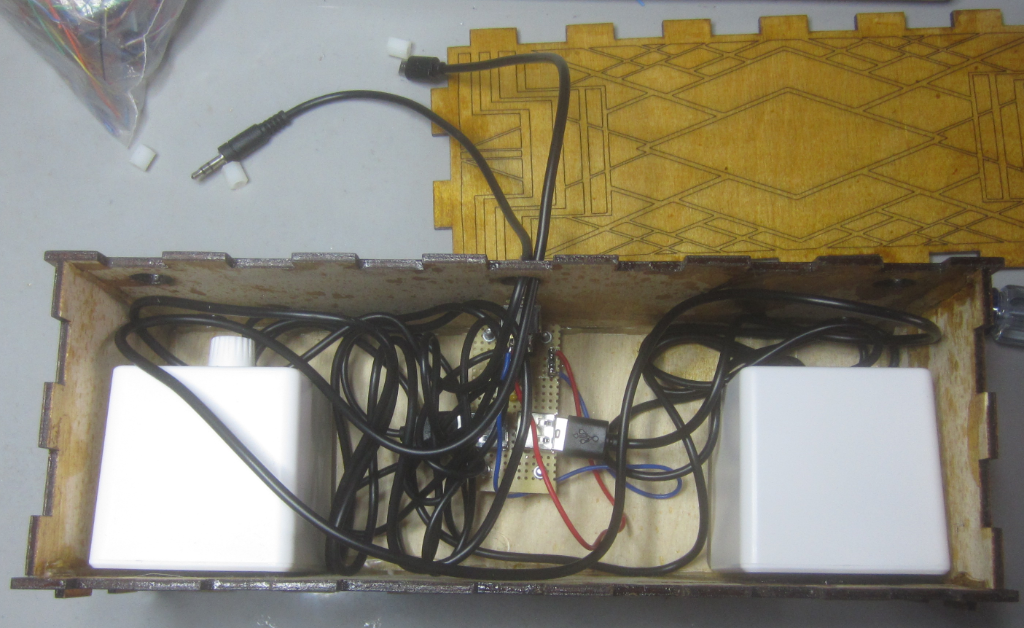 |
Here is a shot of the internal wiring. I mounted the power distribution board (buried under all of the wiring) to the bottom of the cabinet with 4 screws and spacers. I then put double sided tape on the bottom of each speaker and pressed them into place. I did this so I could remove the speakers in the future if I needed them for some other project. The cables sticking out of the back are for the audio and power connections to the radio. |
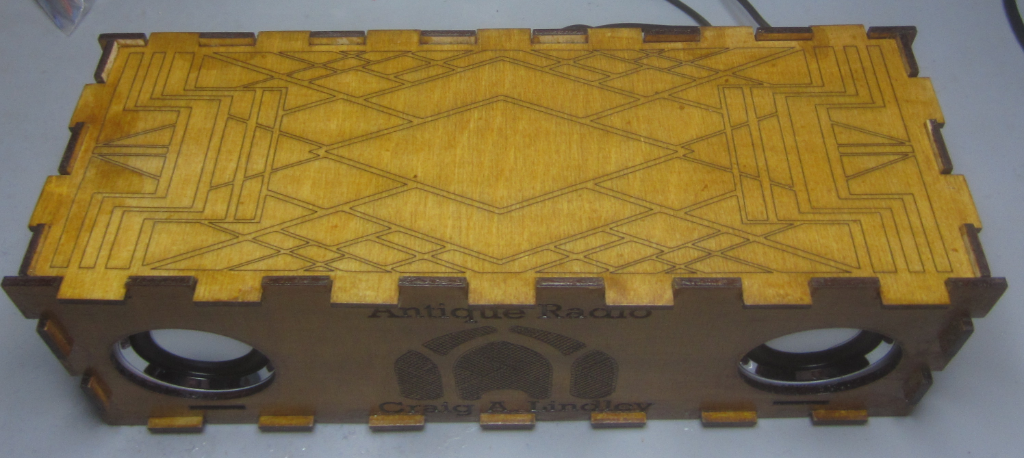 |
The top is engraved as well. |
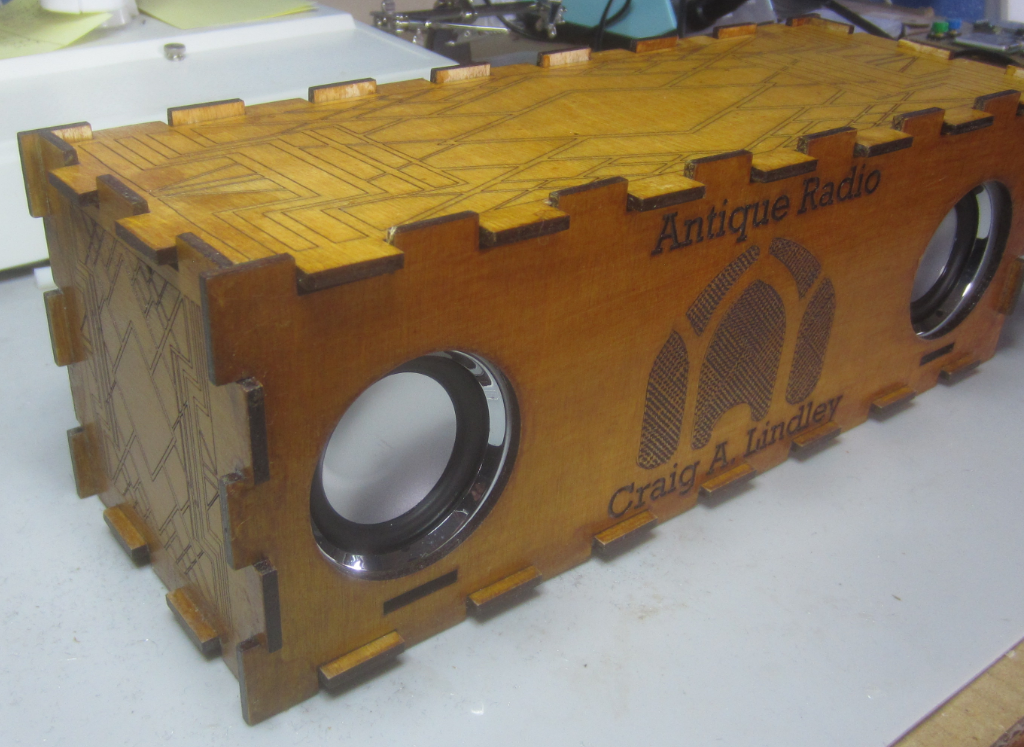 |
Nice angle shot of the finished cabinet |
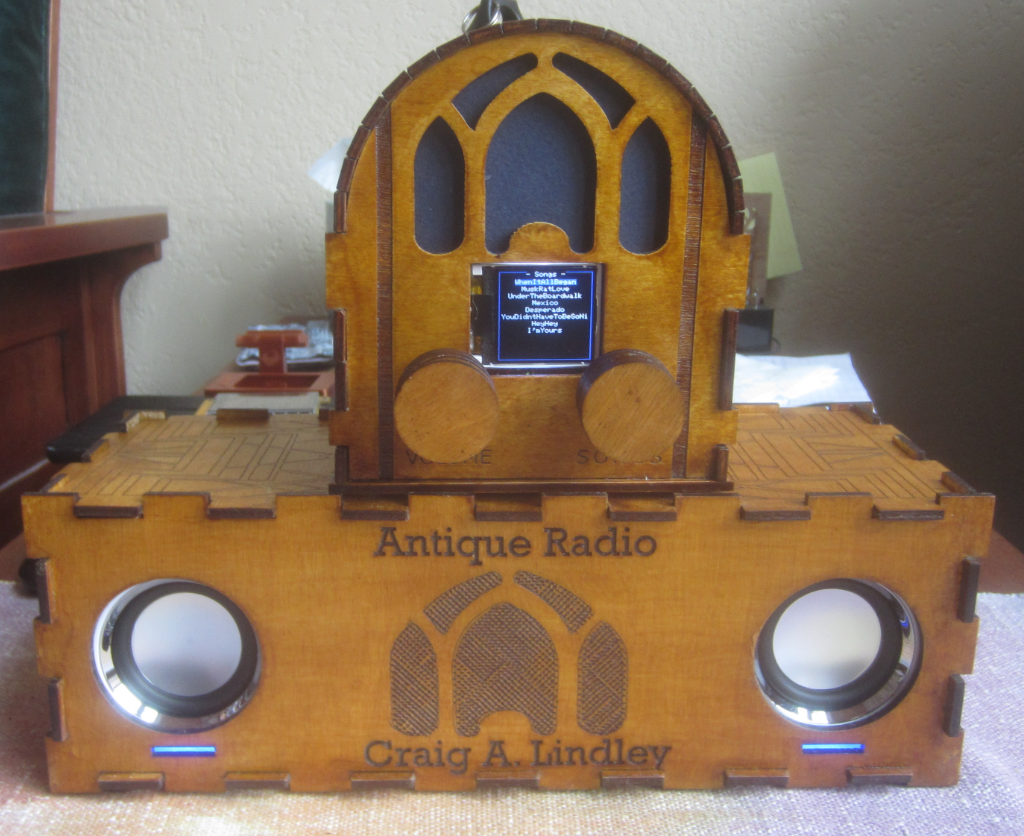 |
Here if the final configuration. Even though the amber finish seems different between the radio and the speaker enclosure it is just the lighting. They actually match nicely. |
 |
Rear view showing the two parts mated
together. I engraved the season when I built the radio and speakers and a link to my website describing the build. |
I think the cabinet turned out pretty well and the little speakers sound great for their size. Surprisingly, they can be played at high volume levels without distortion.
Now I have a functioning antique radio made with state of the art component parts. Ironic isn't it.
See Also
Antique Radio Part 1 - Cabinet
Antique Radio Part 2 - Software
Questions and comments to me Craig at: calhjh@gmail.com